(We are starting a ticket/points system in our household to help with the concept of shores ;-) and also keep count on TV watching or wii playing.)
I thought the whole thing would be more fun with a cute little holder to keep earned tickets in! :-)
 Supplies:
- strip of carstock 9 1/2" X 2 5/8"
- 3 coins envelopes no. 3 (2 1/2" X 4 1/4")
- paper trimmer/scorer
- corner rounder
- 2 magnetic strips
- 1" hole punch
- 3 tabs (I used a die by PTI to cut out mine)
- ink pad
- adhesive tape of any kind
- embellishments (& ribbon + hole punch if you wish)

Start by cutting the envelopes' top off. The 1st one at 2 1/2, the 2nd at 2 7/8 and the 3rd at 3 2/8. Then use the 1" hole punch to make a little indentation on the front of the envelopes (for easier access to the tickets).
(Obviously this can be made to whatever size, I just left a little space between each layer. I skipped that step on the one I made for myself (see further below).)
Next add the little tabs on each pocket/envelope.
 Stack the envelope on top of each other and trim the last one, then ink the edges.
 That leaves you with this.
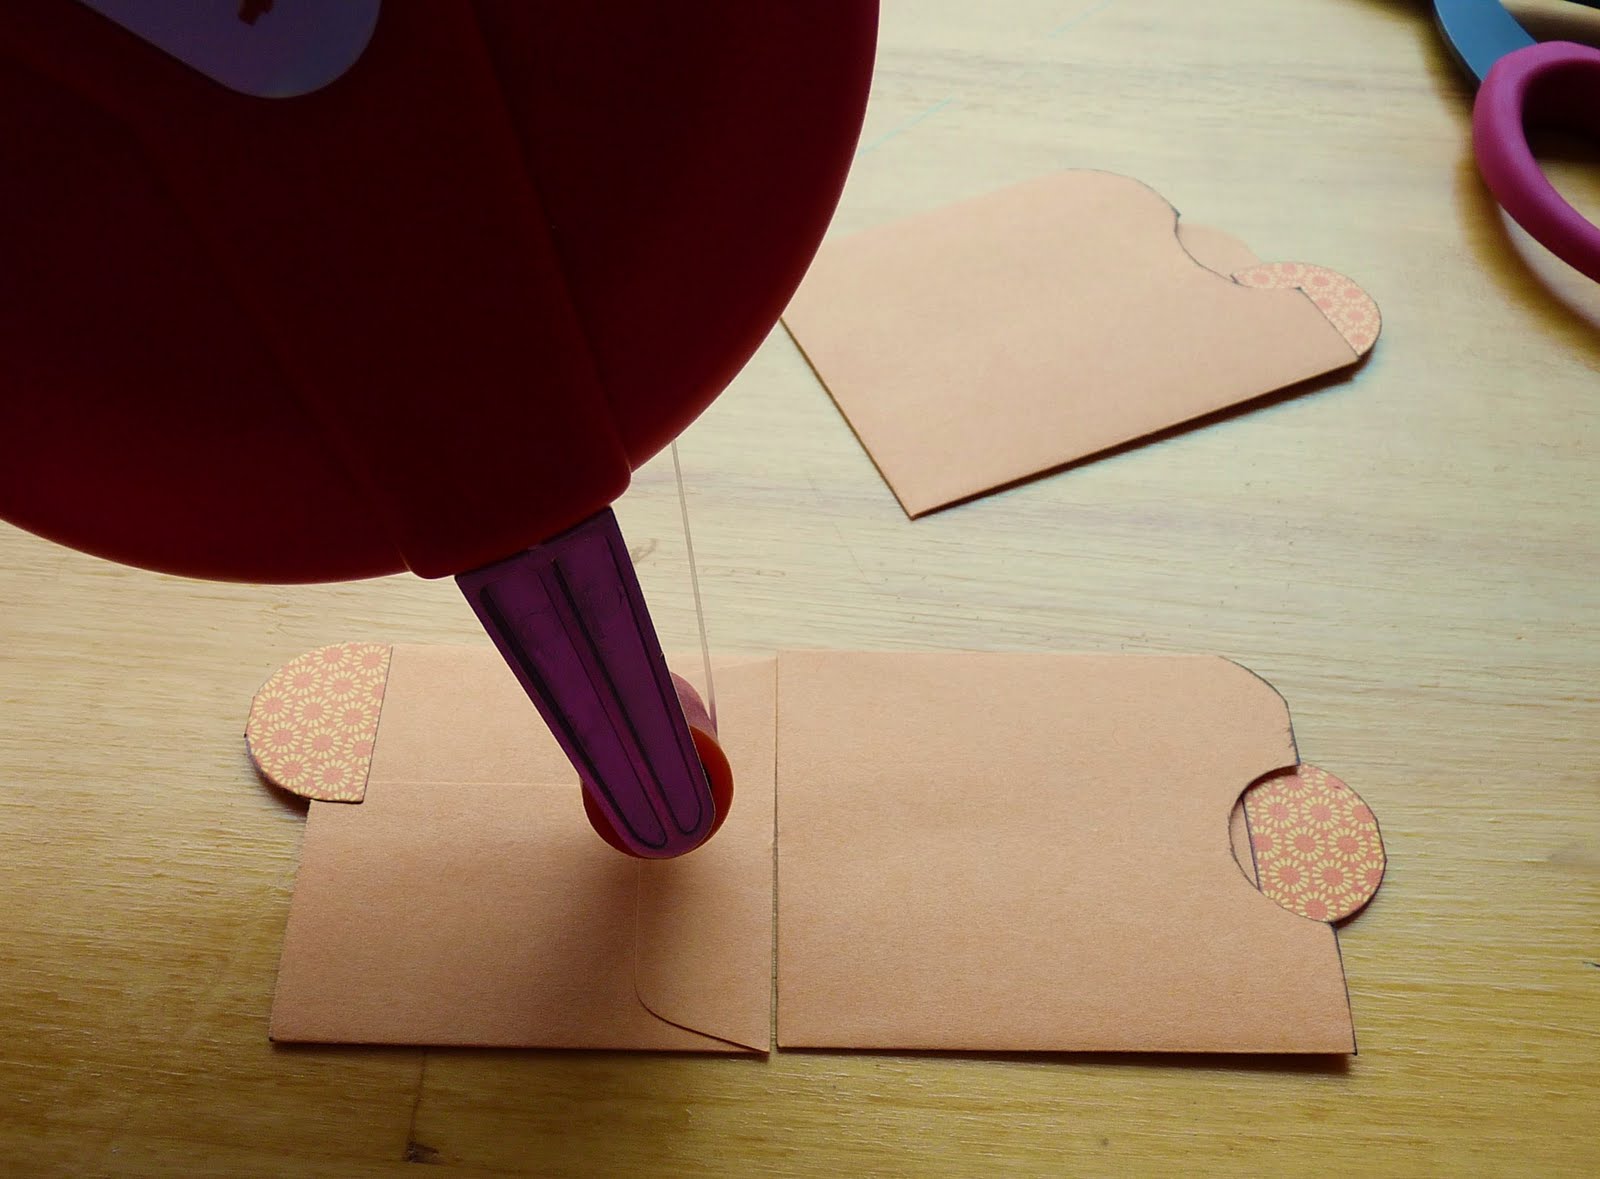 Glue the envelopes on top of each other by running 2 stripes of adhesive in the middle line of the back of each envelope and then stacking it on the next one.
 Gluing only the middle part of the envelopes enables for some "accordion effect".
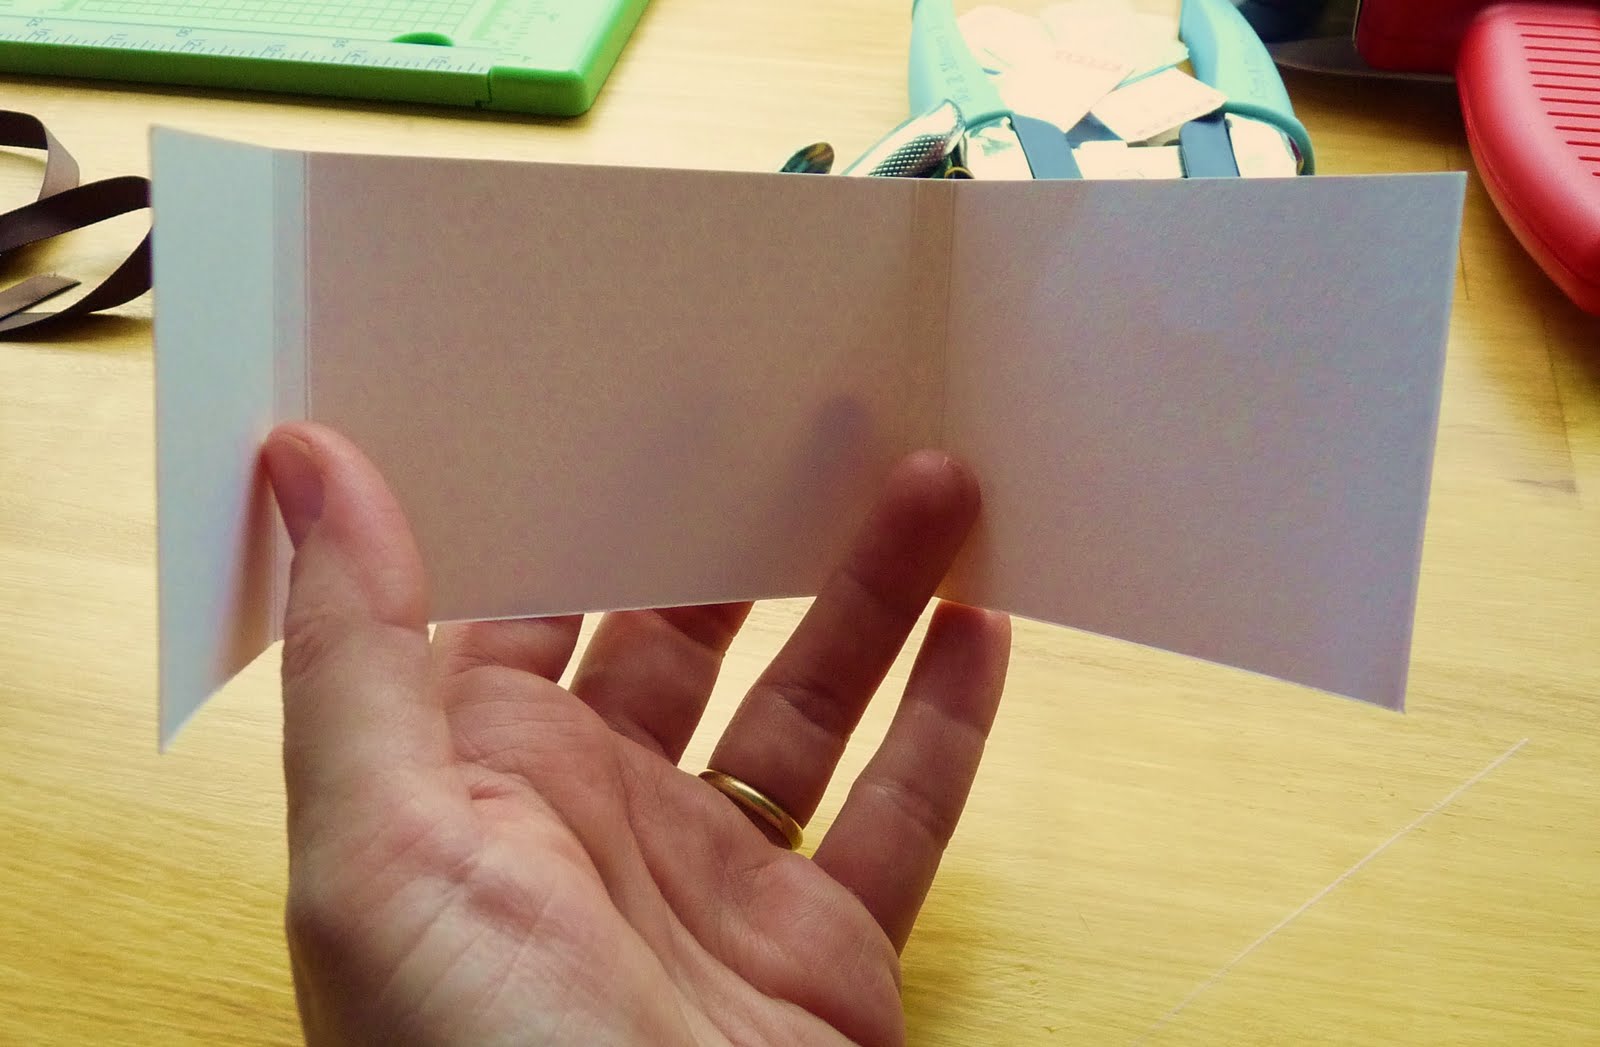
Take your cardstock strip and score at 2", 2 1/4", 6", 6 1/4". Then round the 4 corners.
Run your ink pad around the edges of the cardstock and let dry...
 Glue your back envelope to the carstock.
 Add the little magnetic strips facing each other. Decorate tabs if you wish.
 Decorate the outside of your ticket holder.
 There you have it. I don't know how to call this but let's just say a little holder for all kinds of little notes, wallet size pics and such...
Below is the one I made for myself to store the tickets I will be giving away! ;-) It's the same model, the only difference is I didn't cut "easy access half moons" and I left all the envelopes the same size... I think it looks better this way but I was looking for practicality with the 1st one... If it's gonna be handled often by a kid, they need to be able to get easily to the contents... ;-) Although the good thing it that those are so easy to make that you can just make a new one when the old one gets torn. And since the coins envelopes come in package of 250 I think I am all set for quite a while!! ;-)


 I think I will make more of those to hold other little things like stamps and address labels, or the box tops I clip for the kids' schools, etc...
Well I hope my explanations were as simple as the project is. If not please let me know, I am open to constructive criticism!... ;-)
If you make your own little holders please share a link in the comment section! :-)


